Showing posts with label shrink wrap. Show all posts

Friday, March 4, 2011

A productive, yet terrifying step forward.

Drilling holes in a boat is always kinda scary, especially in any exterior part of the boat. The first time I had to drill a hole in Madrigal's deck was to install the 3" flue vent for the fireplace. That was a scary one. Madrigal however, was already full of various holes for deck fittings and thru-hulls.

Our Creekmore, is another story. I had before me the brand new, unspoilt, hand-laid, 45 foot, fiberglass hull of a future offshore cruising sailboat. And I held in my hand an 8-volt DeWalt power drill with a 1-7/8 hole saw bit. Ugh. I was sick to my stomach at the thought of what I was about to do.

"Measure twice, cut once" is the ever present advice of my Grandfather. I must have measured at least 10 times and I was still shaky with bad nerves when it came time to pull the trigger. Of course, this begs the question, "WHY? Why are you drilling holes in your new boat?" Well, the shrinkwrap was a bit of an ordeal and eventually leads to a need for holes.... The wrap and frame was hastily erected with a storm about to blow in, and our big trouble was that there are no stanchions, cleats, lifelines, masts, rigging lines or anything else to tie the frame off to. Nor could we tie the shrinkwrap strapping to anything. All lines had to be led under the boat as belly bands (which only works until the keel starts sloping forward and then the ties just shimmy off the bow) or they had to be tied to the boat stands. Lets just say the whole job came out shoddy, floppy, loose and annoying. Amazingly, I was able to coax it along and keep the system upright and shedding snow through all of our winter storms and large snow falls. I was impressed -until last Sunday. We had one of those awesome 50 mph nor'easters blow through and it finally collapsed the wrap. The frame splintered, the wrap shredded. It was a mess.

No shrink wrap creates issues. There are no hatches in the boat and there are no cockpit drains. We can tape off the hatches with plastic and no-stick duct tape (amazing stuff). That's easy enough and seems very waterproof. The cockpit drains are another issue. Hence, I had to drill holes in the boat.


Hull core plug.

I put two drains the back wall of the cockpit (using fancy little flat sided thru hulls I found, but do not currently have pics of- sorry) that run back into the aft lazarette and down though the overhang. Soon I will install two more that go down through the bottom of the cockpit and out the sides, and I'm even going to put a big ol' pipe or two that goes straight out the back in case we ever get a boarding wave. Lots of cockpit drainage is a good thing. In the end it will be four 1.5 inch drains (2 down and to the sides and 2 going back) plus two 3 inch pipes going out the back.

Looking forward and port this is a cockpit drain that comes back out of the aftmost
cockpit bulkhead and runs down out of the overhang above the waterline. (a temporary install)

The current scupper/drains are only siliconed in place for now. They are just place holders that are just waterproof enough until I can properly bed them. It was a quick job to accomodate the sudden lack of shrinkwrap. But really, it works out well as it gives me a good launching point. I can now spend a day fairing in the areas around scuppers and molding things exactly how I want them before I 5200 them in permanently. Hopefully I can get this cockpit to shed tons of water in no time flat :)

Wednesday, April 21, 2010

picturesque


It has been an incredibly busy spring. Jenny has been working all her waking hours split between indexing and the library. Only 6 more days at the library though :) I've been indexing as well as doing massive amounts of boatwork. In the meantime, we haven't really had the chance to upload many of our own pictures. Well today I finally cleaned out the camera and decided to just upload a bunch of pictures. They are roughly in order of oldest (about 6 weeks ago) to newest (yesterday). So I'll just give them some quick captions and hope you enjoy.

Jenny snapped this shot of me applying the second
coat of easypoxy to our deck.


and one more.


This photo is facing starboard and slightly forward in the cockpit.
The big white panel at left is the forward bulkhead which I removed
the old wind gauges from and fiberglassed over.


Willie, admiring himself.


My left hand looks funny up there.


Apparently I was about to scratch my head.


Sometimes, we're odd.


Somehow, Gollum is still alive.


Springtime in a Boston marina is a fantastic time.
Everyone comes out of their little plastic shells and starts to be
social again. It's really very nice.


Ladies, pictured at right is Keith. Keith is a single white male,
roughly 30 years old. Keith enjoys boating and wearing cardboard
shark heads. If you share these interests call him at 1-800-my-shark.


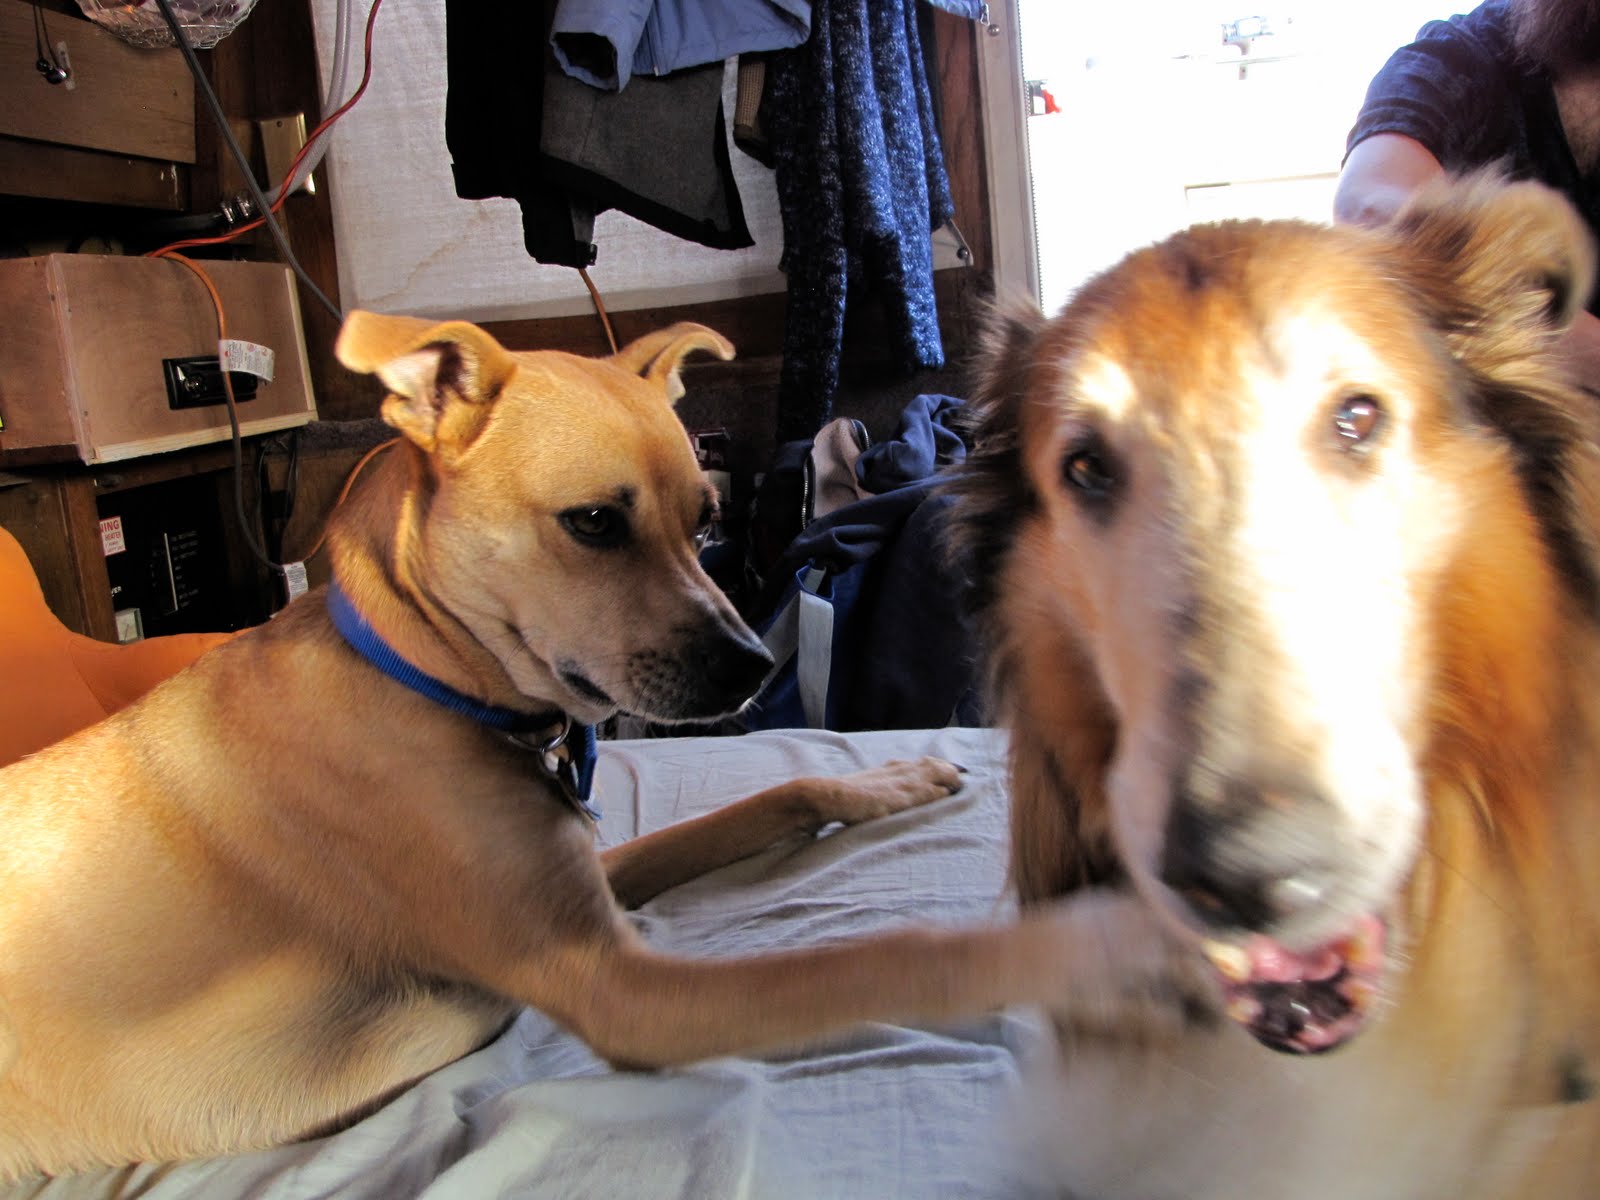
Willie and Rusty love to play. Rusty is 14 years old and so arthritic he can barely
walk, but he still manages to give that young pup a run
for his money.

This is one of our assistant dockmasters, Howie, helping move Madrigal
to it's temporary summer slip. We'll be docked on the outside
of the marina until we leave for Thayer's Landing on May 1st.


Willie has a new superhero costume.


Don't tell him you know who he really is.


He prefers if you call him Wondermutt. It helps him
stay incognito.


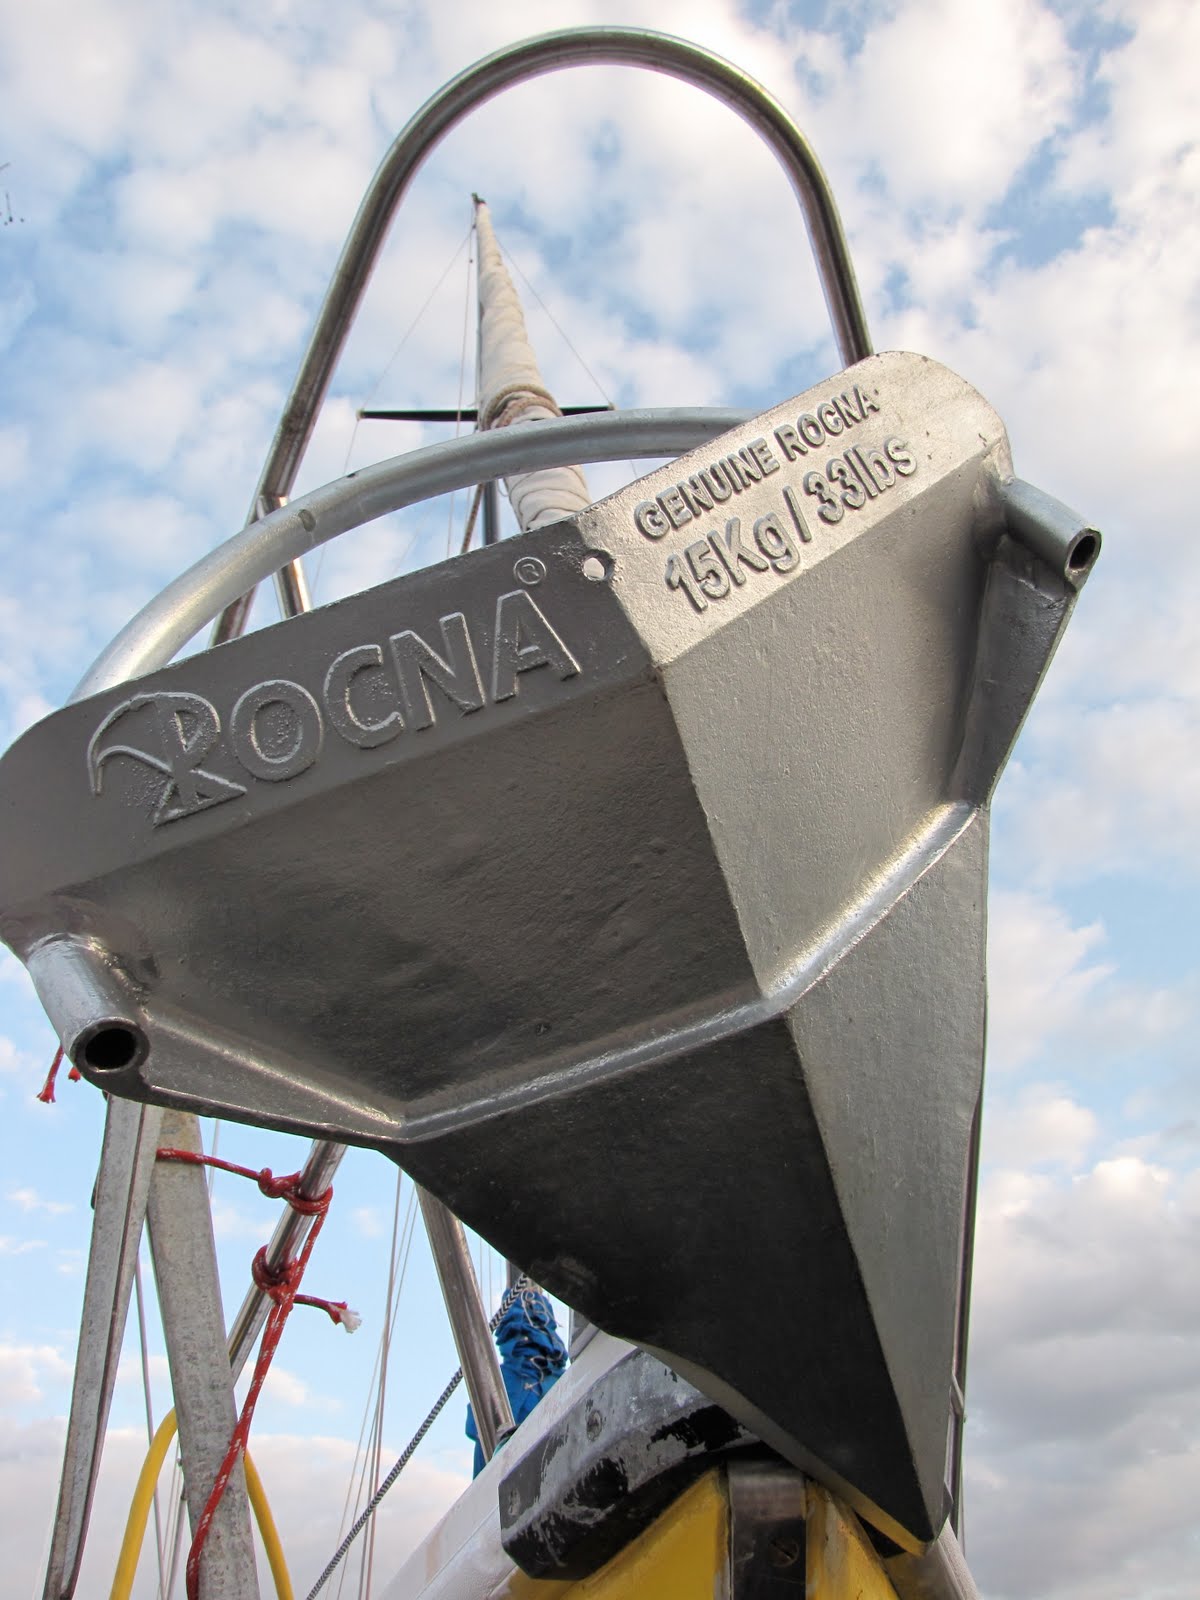
Our new Rocna finally arrived yesterday :)


Now we can sleep at anchor with much greater confidance.


It will be a very fun summer.


And just a couple quick shots of the boat in its current state,
new deck paint and all.


and Willie too, of course.

Monday, November 23, 2009

Nice days in the fall.


So far, this autumn has been a very mild one. It is kind of sad that we can't go out sailing due to shrink wrap being on the boat, but we can still make good use of the weather. I made a temporary rig to hold up a cockpit table that we got for free as scrap from a fellow boater who installed a new one. I'll put the table in the right way in the spring, but for under the shrinkwrap it makes a great place to sit and enjoy some hot coffee. Around 40-50 degrees outside it is 60 something under the wrap. Perfect :) Just like summer....

Wednesday, November 18, 2009

sea hood

This year, Justin built our shrink wrap frame out of pipe instead of wood, and he built it VERY tall, because he has a lot of plans for the winter!

One of the projects he has been working on for a few weeks now is making a sea hood for the mainc ompanionway hatch. This is for a couple of reasons - one being that no waves, rain or draft can come in through the hatch due to this protection. The other is that he plans on building a hard dodger (a windshield of sorts) so that we are even more protected while sailing, and when it is raining, we'll be able to keep the hatch open and not get rained on in the boat!

This is a picture of the seahood in progress. It's actually further along than this, but this was the picture I had on hand.

Another project we have in mind is to paint the topsides. That's why he wanted such a large frame this winter, so that we can both clamber around on the deck without having to crouch down for hours on end while we paint.

Madrigal keeps getting better!

Monday, November 3, 2008

framingham

The picture came out kind of fuzzy, but it should get the point across. I built the shrink wrap frame the other day. All built of wood, cost about 30 dollars total. The door is awesome-- it was about to be pitched in the dumpster by somebody and I took it before he could throw it. It is a solid wood door off of a house or apartment. Has 3 glass windows in it. I put a new stainless doorknob on it and built a frame around it out of 2x4's and it is good to go. I'll be happy to have a real door this year. Should be all wrapped up in the next few weeks.

In the meantime, the heater is still happily burning away on its first tank of propane!