
Finally, we decided to take a road trip down to Rhode Island to visit the previous owners, and to purchase some of the extras that they have for the boat. We decided it was time to buy the hatches and ports!
We keep going back and forth - do we paint and then put hatches (and ports) in, or vice versa? There are reasons for each way. Painting first makes more sense, but the boat is outside and covered with a sketchy shrinkwrap system. Lack of hatches in that condition is just asking for an accidentally wet interior. However, Justin thinks he can make the shrinkwrap last long enough to get the decks painted and then put the hatches in as soon as possible after that. We just hope the weather and the baby cooperate and that paint can happen sooner than later.
We had a very nice visit with Henry and Birgitta and packed all the hatches into the car. The Bomar hatches were purchased brand new ~30 years ago, and they still had the paper over the lexan to protect them from scratches! We wanted to see what they looked like underneath, so we picked away at the corner of the paper and tried to peel it, and...the paper was stuck. I mean really, really stuck.
We knew that you have to be careful with lexan, as it scratches very easily. We tried to just pick away at the paper with a fingernail until it came off, but we would have been doing that for a month! Also, when we did get the paper to come off, it left a terrible gluey residue on the glass. We were actually quite worried that this layer was basically baked right into the glass, and that these ''brand new'' hatches were going to look terrible when we were done.
Well, finally we found that some soap, hot water, and elbow grease really got the stuff to come off of the glass, including the residue. It all came off in layers - first the paper, then the glue, then the residue. We spent quite a few hours working on them together, but it was nice to sit down and work on a boat project together, to make good progress, and to see some beautiful hatches underneath it all.
 Heating up the soapy water.
 Peeling away at the gubbus.
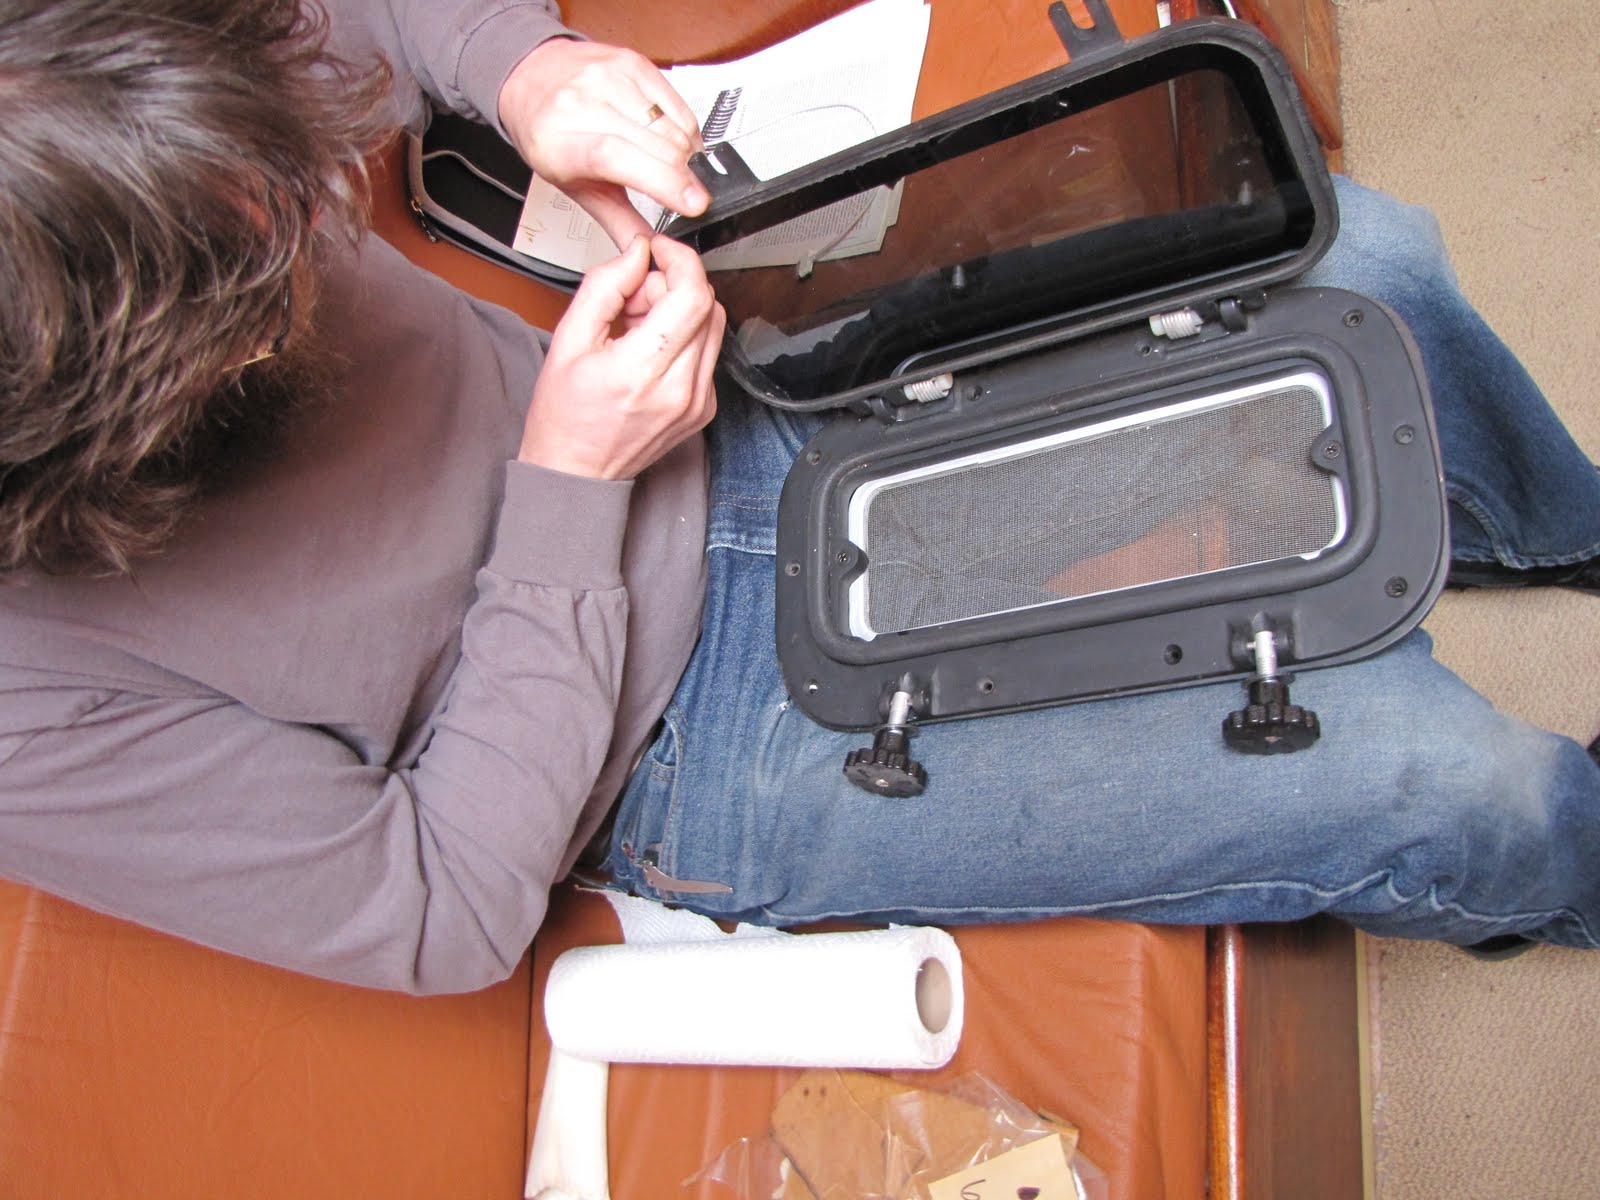 Beautiful!
Glad to see a new post! BTW, to get most "Gubbus" off, I use rubbing compound. Be carefull because it comes in different grades. Brasso works great since it's a fine compound, and it will actually polish lexan. You can use regular rubbing compound on all kinds of stuff I.E. polishing aluminum, stainless, plastics etc. I wish I had known about your blog when I visited my cousins in Boston. You guys are inspiring! Best of wishes from TX. ~B~
ReplyDeletehey guys! do you have an email! i tried to post on the last one, i just wanted to chat! im trying to become a liveaboard by november, this winter season. email me at rstamerro@gmail.com thank you so much
ReplyDeleteBrett, thanks for the tip! We were too afraid to use anything on the lexan because we really didn't want to scratch it up.
ReplyDelete